Basic guide to get a domain, set up web hosting and upload your first website via FTP
October 18, 2016 Courses Tutorials

By Miguel Paz. Photo by Greg Rakozy
💡 This is a simple tutorial I wrote for my students at CUNY Graduate School of Journalism. It is entry level and includes a couple class specific details.
Choosing a domain
A domain is the name of your website and it’s made of 2 things:
A name: what-ever-you-want-to-name-your-website
A top level domain: .com, .org, .net, etc.
For example a domain that I own is miguelpaz.info. The New York Times is nytimes.com. CUNY’s is cuny.edu. There are also subdomains. CUNY’s Journalism School website is one: journalism.cuny.edu.
There are many types of domains, starting with the original top level domains (including .com, .org, .net, .edu), country top level domains (like .us, .fr, .ca, .cl, .ar, .co, .tv, .io, .in, etc.), second level domains (.co.uk, .com.ar, etc.) and other types of domains. There is a new list of domain names you can also check (examples: .nyc, .miami, .bike). In most cases, this ones are sold by specific domain name registrars. A full list of domains is maintained by the Internet Assigned Numbers Authority.
Domain names can be bought (we talk about buying domains but you actually rent them) for one year and renewed annually from Domain Name Registrars. You can also choose to buy your domain for more years. You can buy a domain and pay for web hosting from a single provider or get the web hosting elsewhere. Due to the specificity of each service, it’s more usual to get the domain and hosting separately.
Once you register a domain name, you will get one or more Domain Name Servers (DNS). DNS “are the Internet’s equivalent of a phone book. They maintain a directory of domain names and translate them to Internet Protocol (IP) addresses”. This may look like host1.domainnameregistrar.com which is the text on top of the underlying IP address.
Depending on popularity and availability, prices of domains vary. A .com domain can cost $10 dollars per year, while a .io (very popular in startupland lately) will cost $50. Prices may vary also between domain name registrars, if they are on sale, etc.
Things to look for when you buy a domain name from a domain registrar:
-FTP access
-Includes cPanel (a dashboard to manage your domain and DNS)
-Full control of your DNS
-Includes a SSL certificate free for one or more years (so your website uses HTTPS protocol by default). If it doesn’t and the price of the domain is very cheap, you can get it and then go get a free certificate with Lets Encrypt.
-Does not charge you extra if you want to transfer your domain name to another registrar.
-Provides Domain forwarding
Buy a domain and web hosting
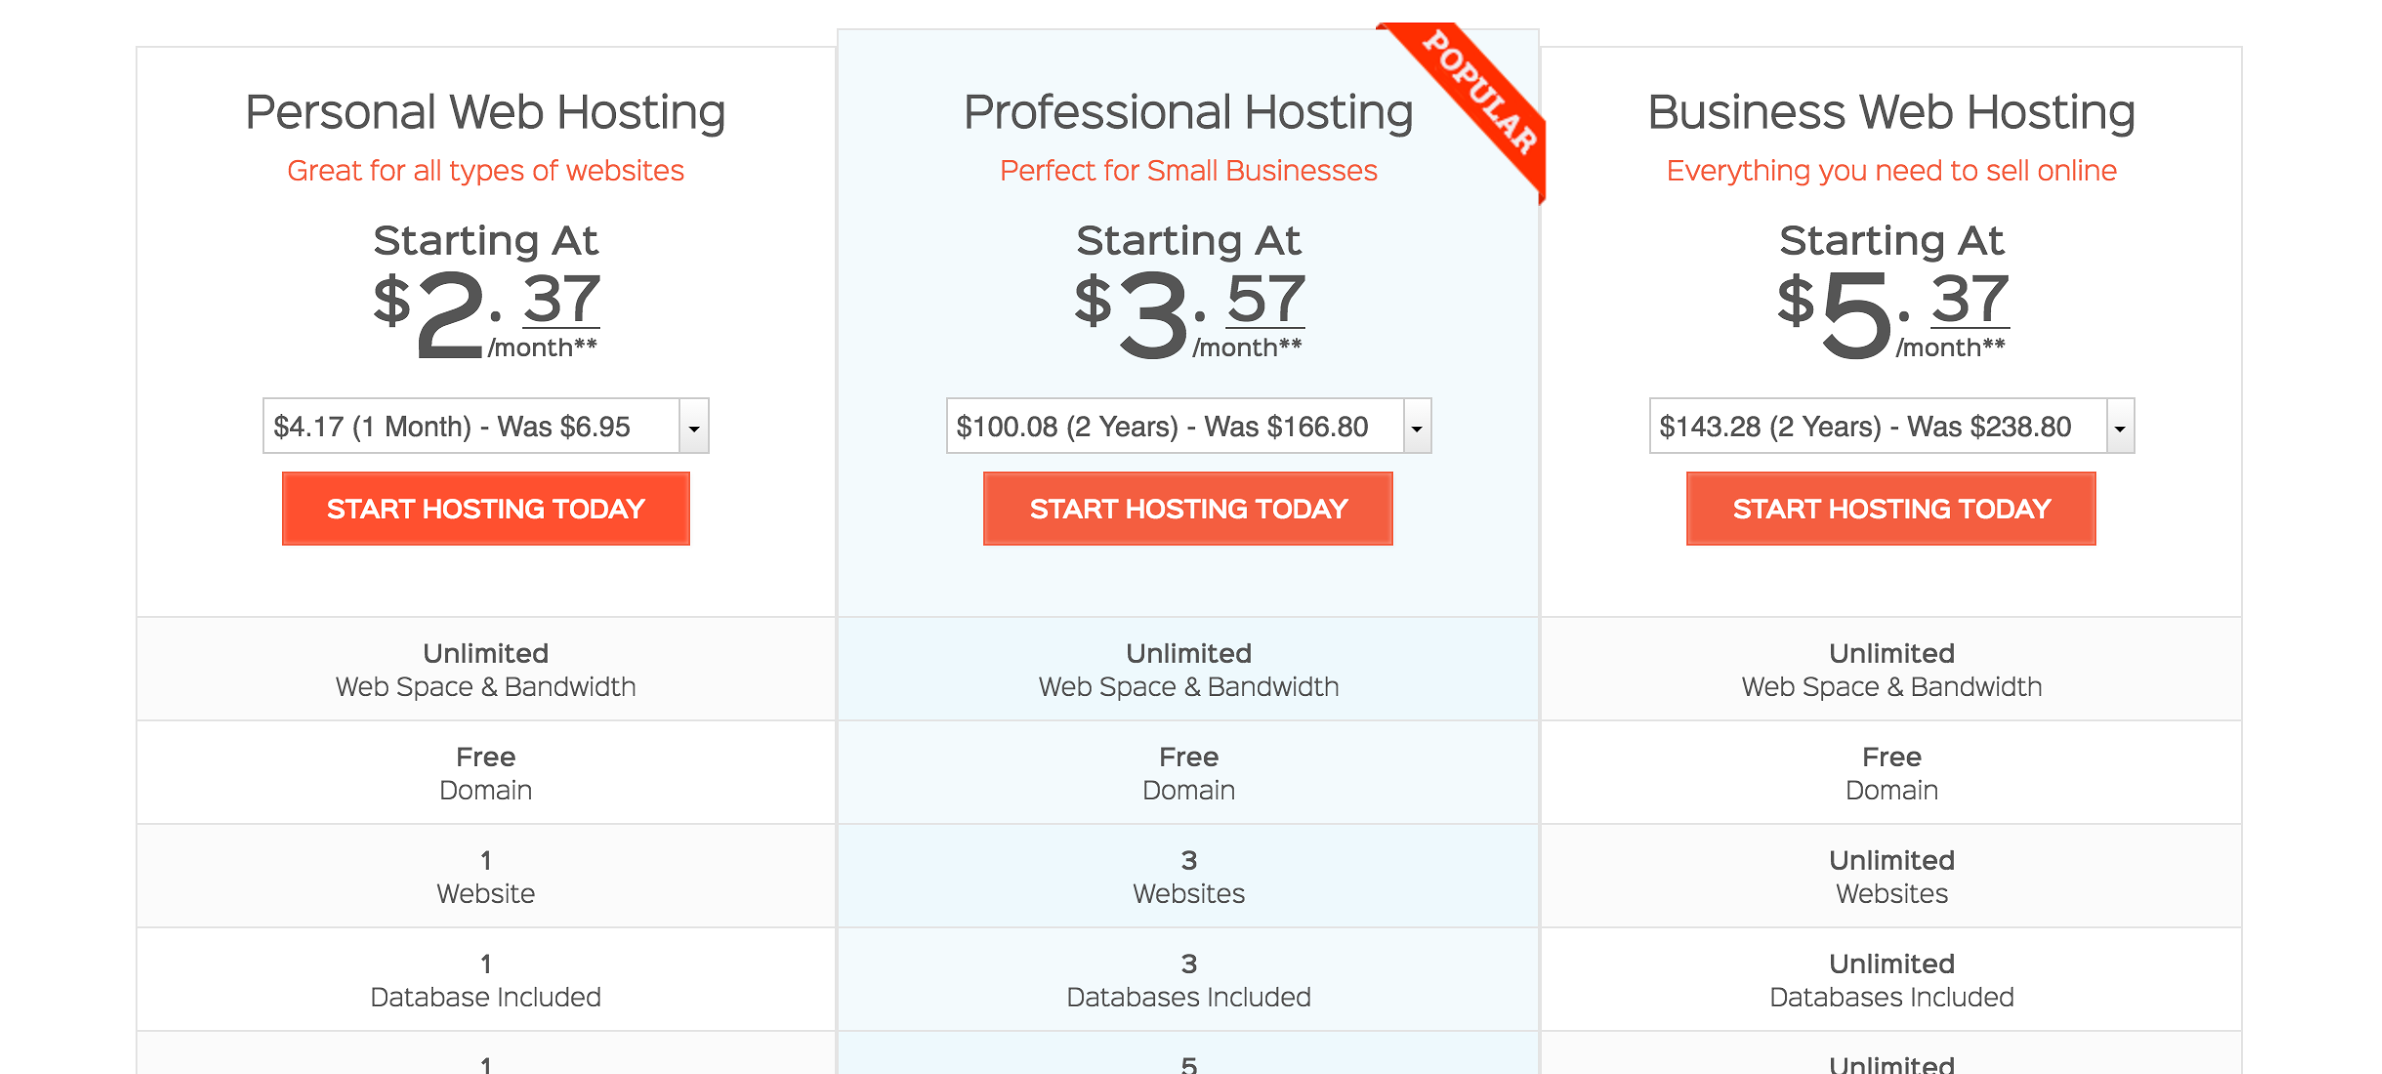
You can purchase domains on many sites, including Midphase, where we are buying domains and hosting for our class (please see disclosure below).
Midphase right now has a “Personal web hosting” offer that includes: A free domain and web hosting for 1 website and 1 subdomain. The 1 year web hosting plan costs $ 42.84. A 3 month plan is $ 10.71.
There are many other sites to buy domains like Gandi, Namecheap, I want my name, etc. I specially recommend Gandi.net because of its proven track record of taking special care of security, and it’s supports of a variety of open source projects.
Most will offer discounts and cheap prices when you buy a domain for the first time but when you renew it, the price will be higher. If you can afford it buy it for more than one year right away.
Since you want to build your portfolio and online presence, first try to get your own name as a domain but if you can’t, be creative and come up with something you know you will use for quite some time and it is memorable. First site has 11 great tips for choosing a domain name.
Step by step to getting a domain and hosting with Midphase*
1.- Go to Midphase and purchase domain and hosting (I recommend the cheapest plan). Do this as soon as you can. Domain names and hosting can take up to 48 hours to start working properly.
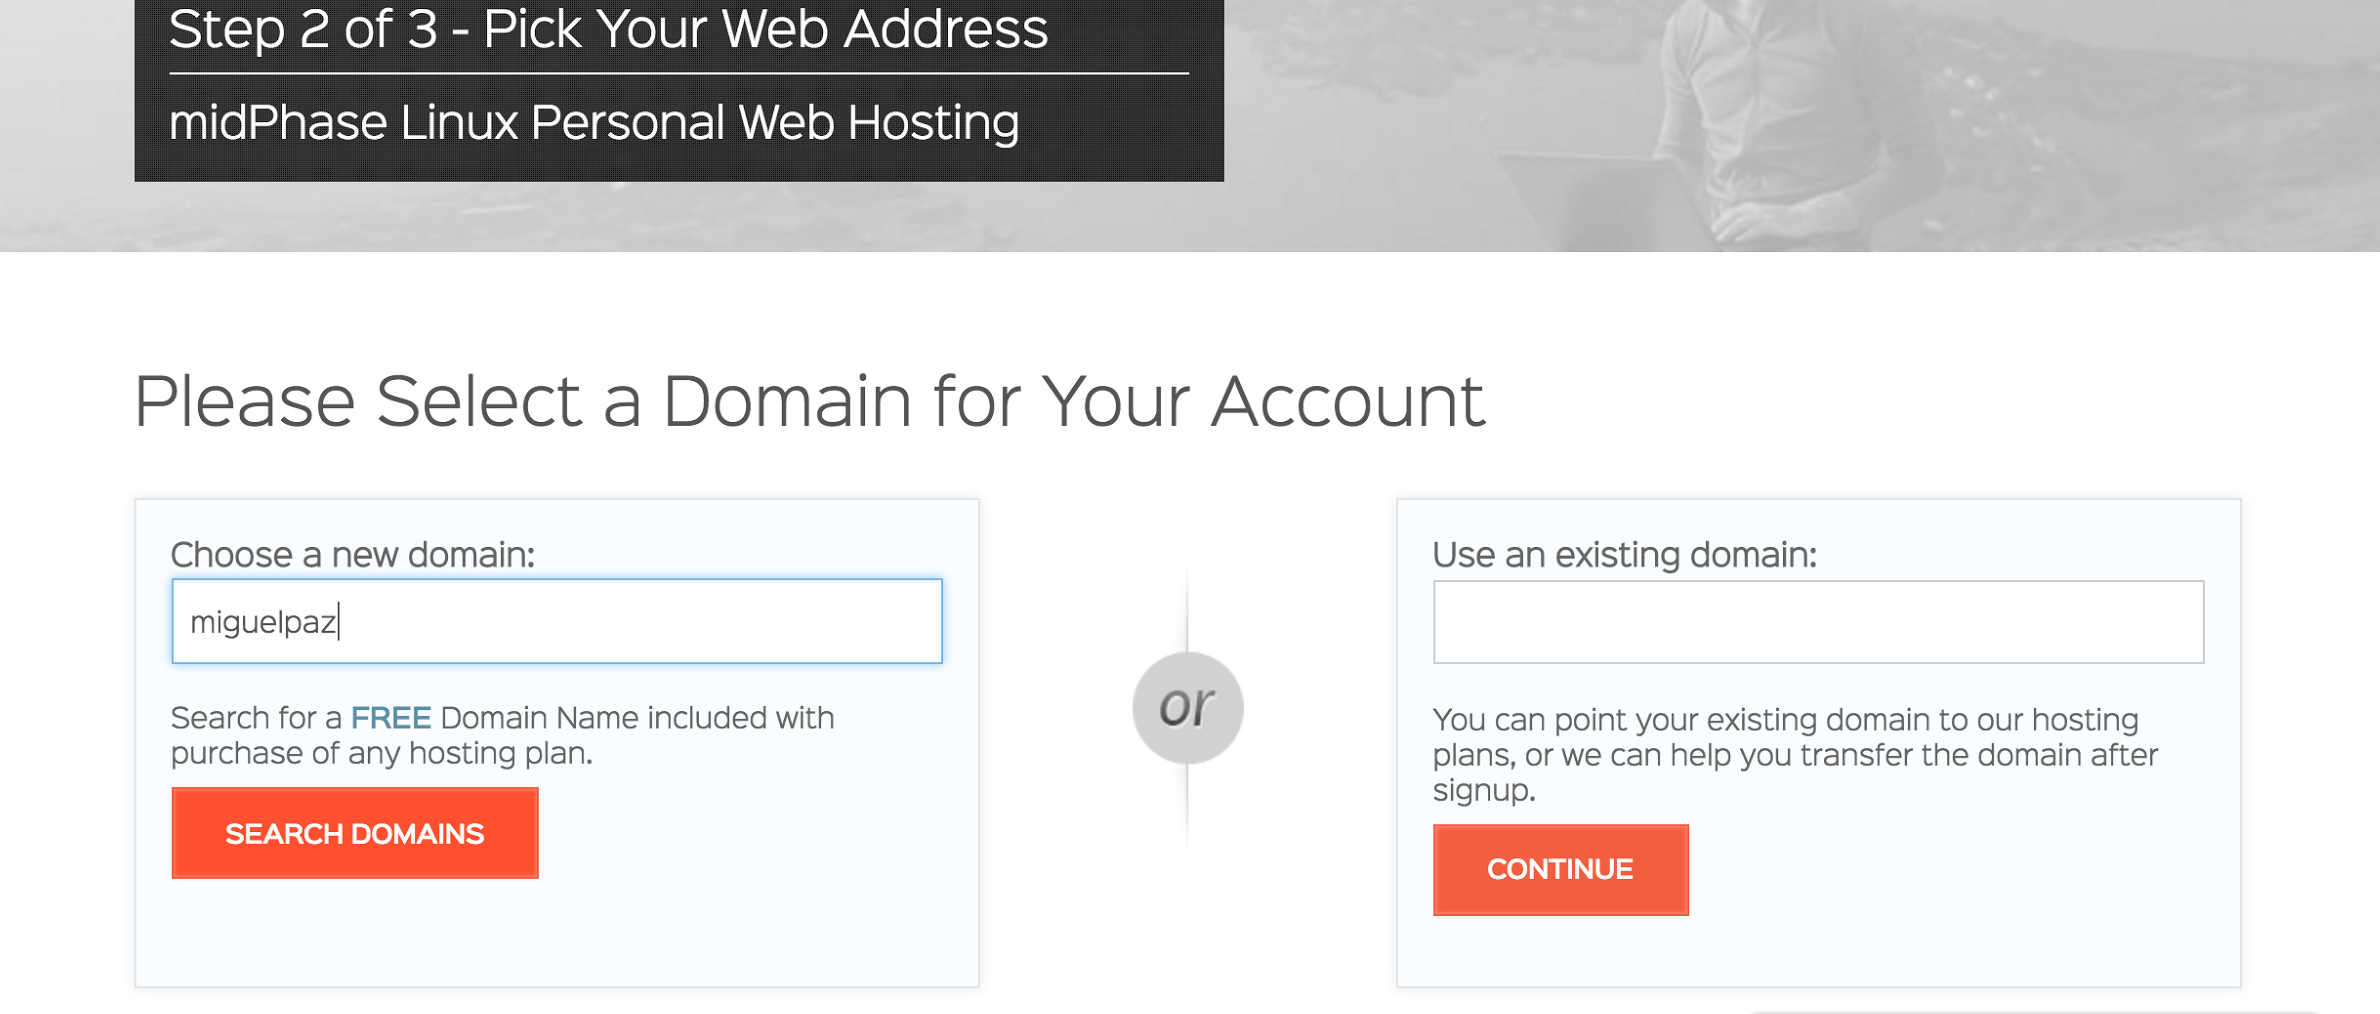
2.- If you don’t have a domain yet, use this search box to add the name you want and look for options and prices. For example I searched for possible domains for my name.
3.- I got this options.
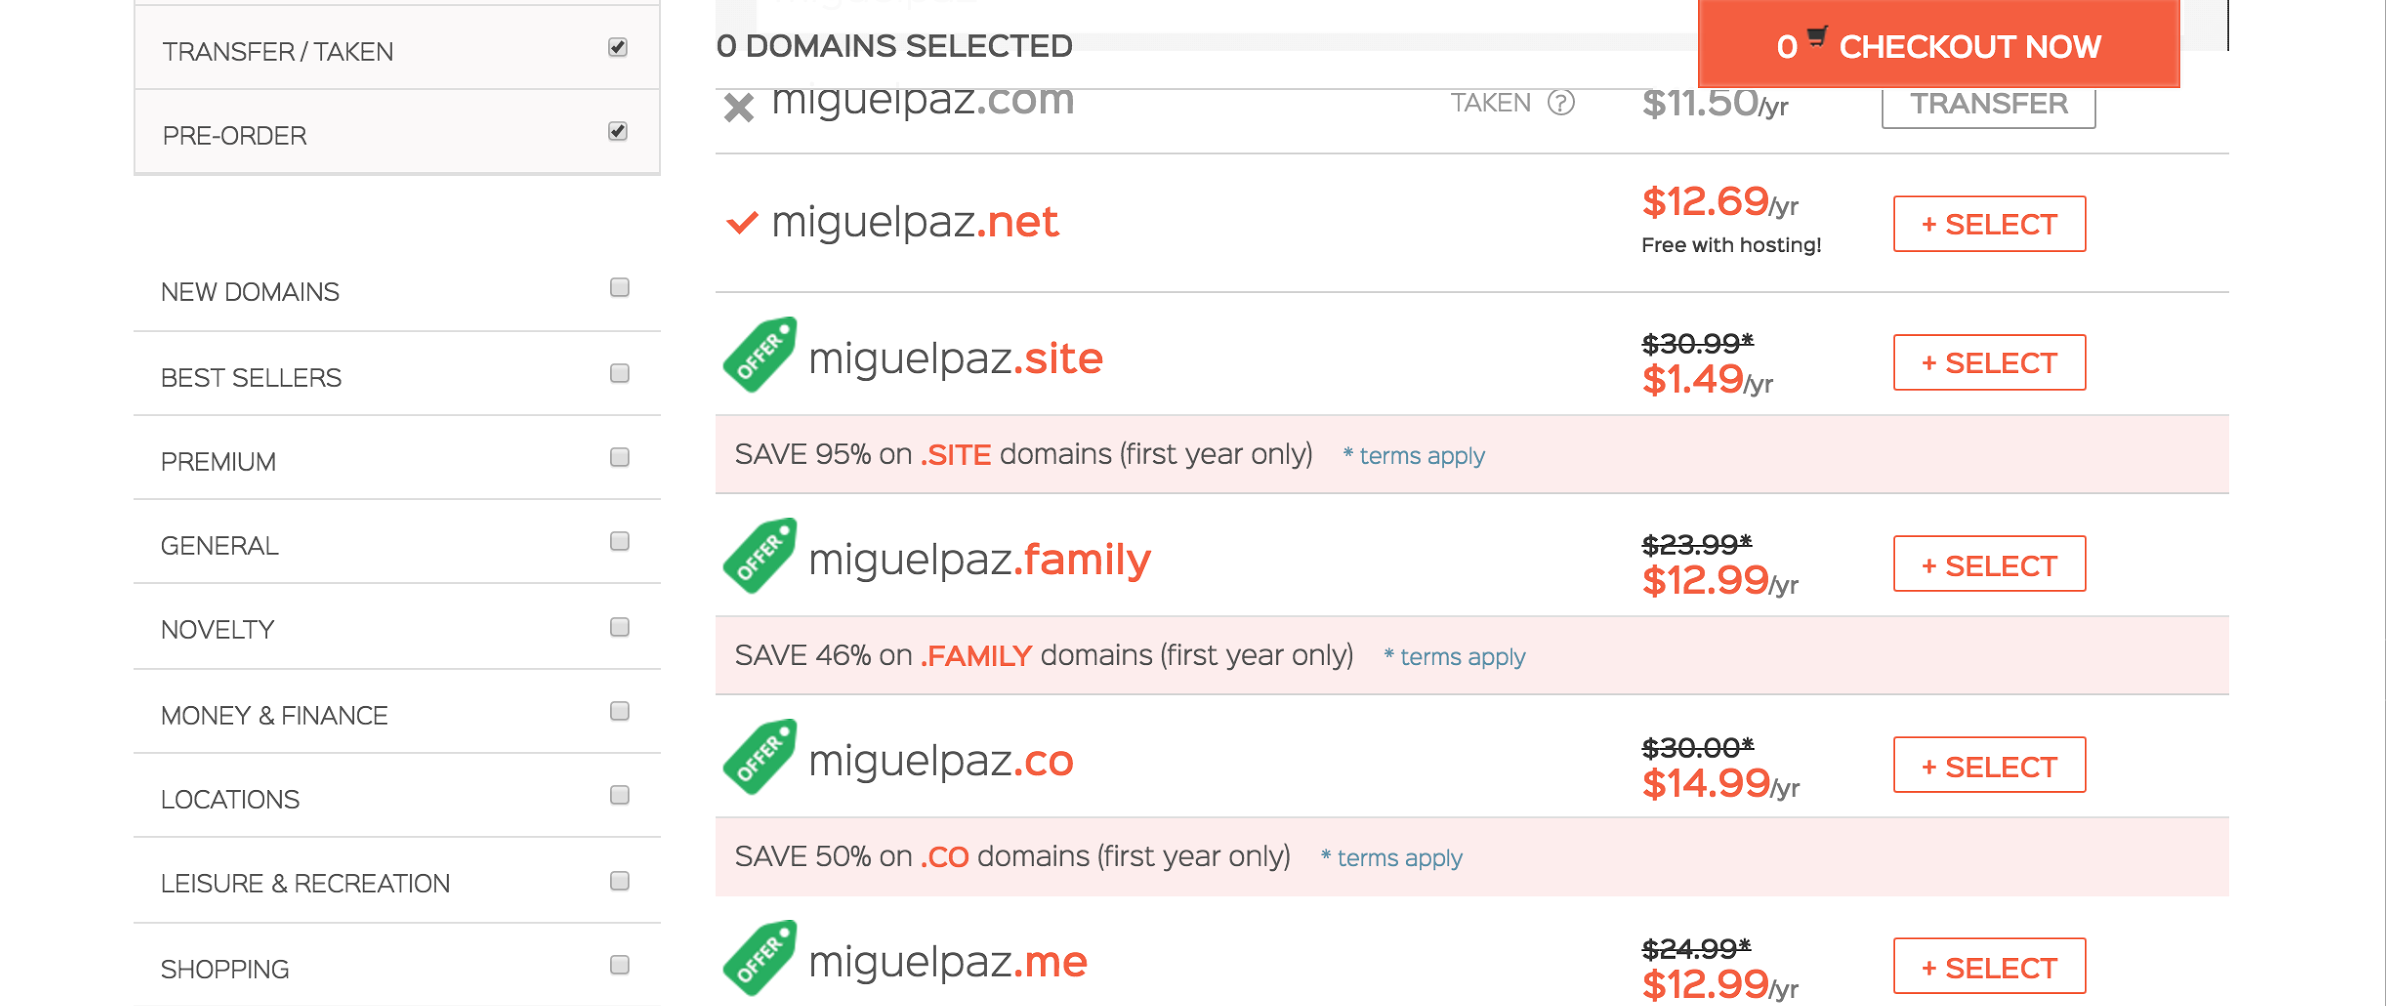
4.- I bought the cheapest one for this tutorial: miguelpaz.site
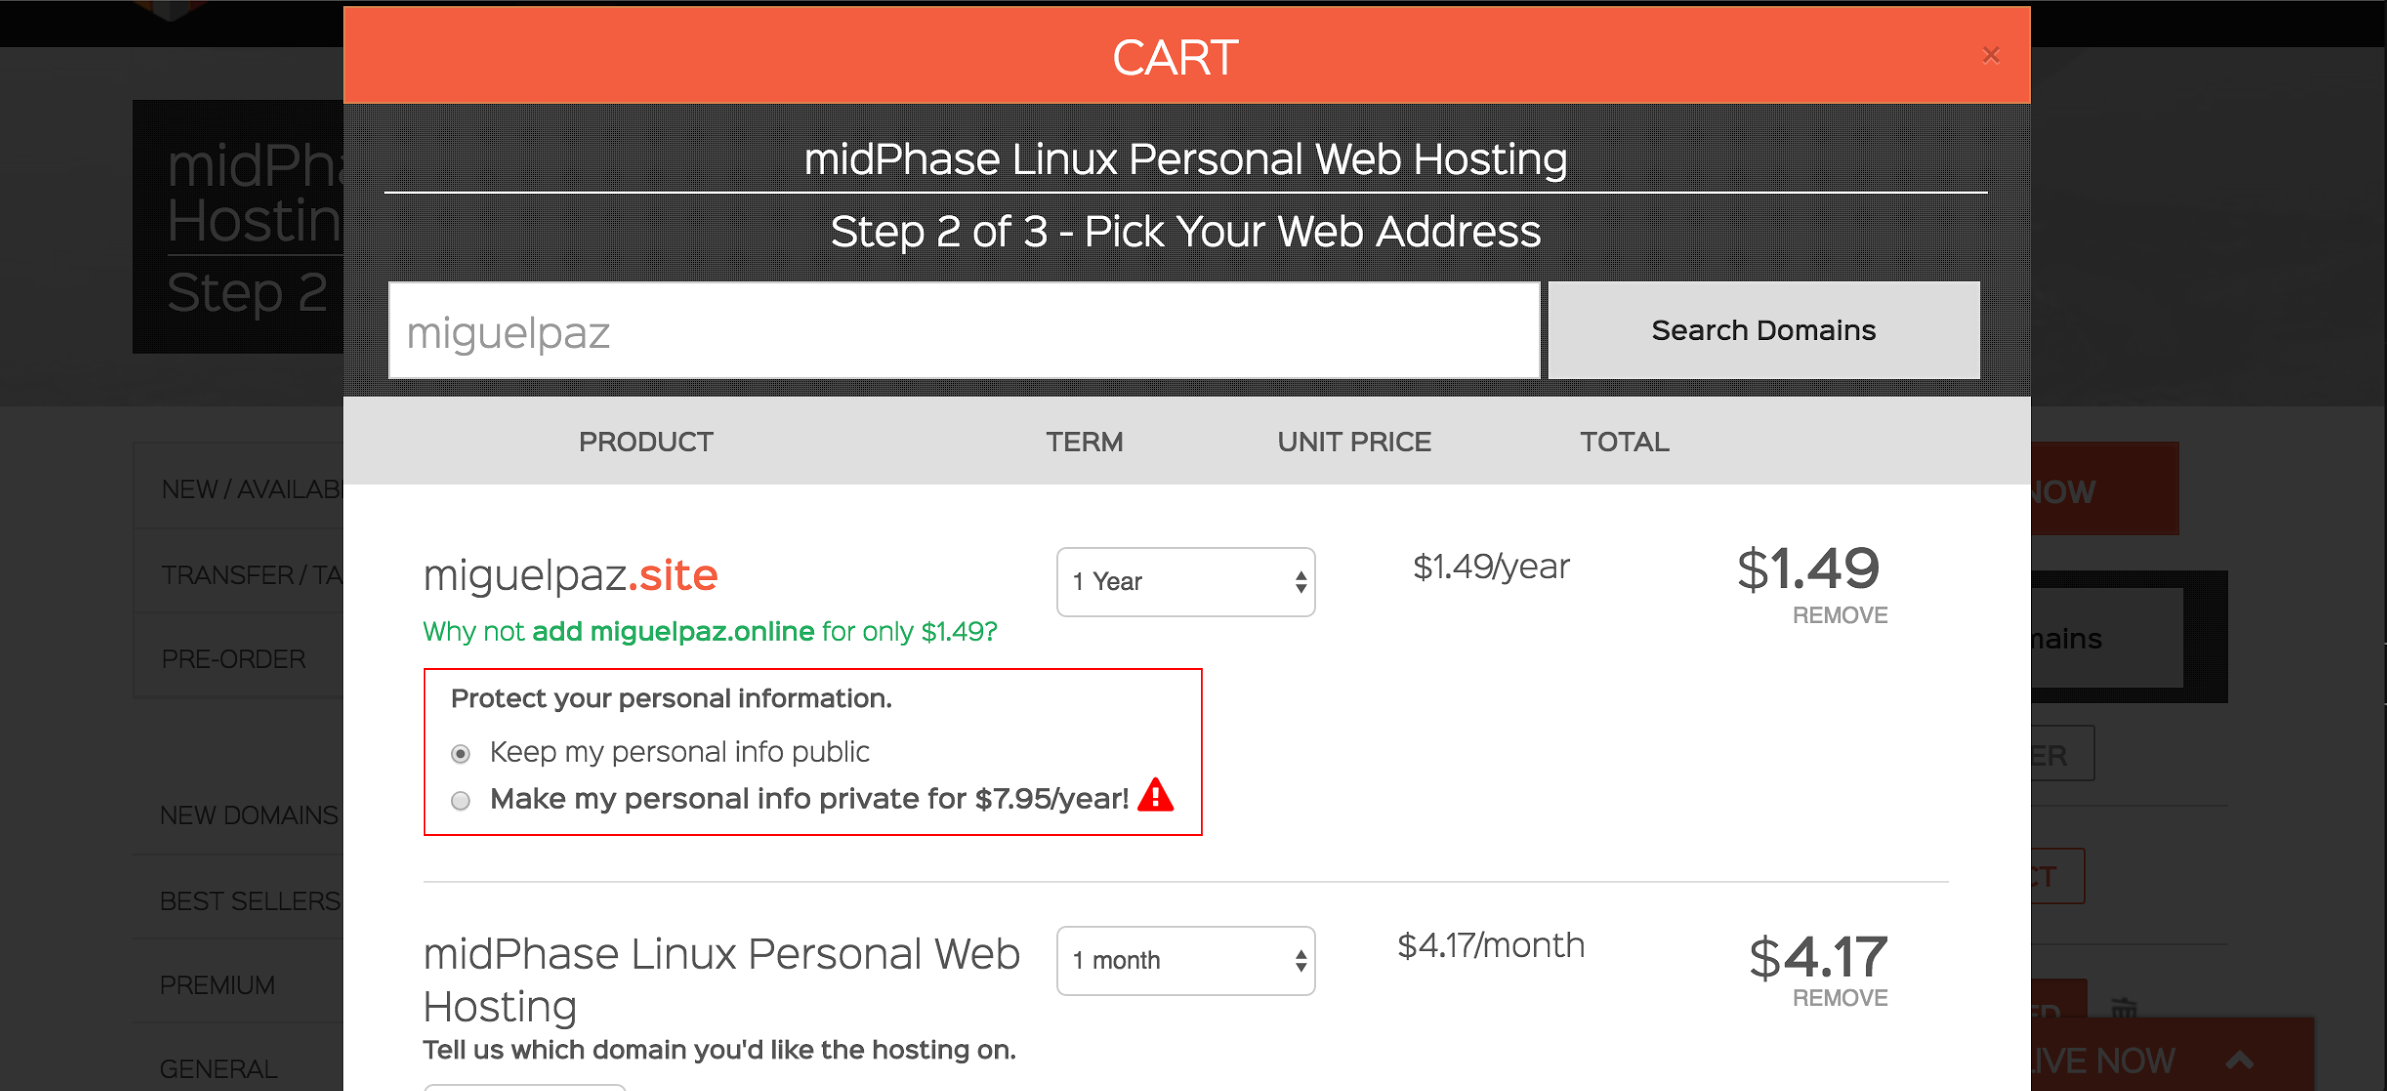
5.- Then add your information and pay for it.
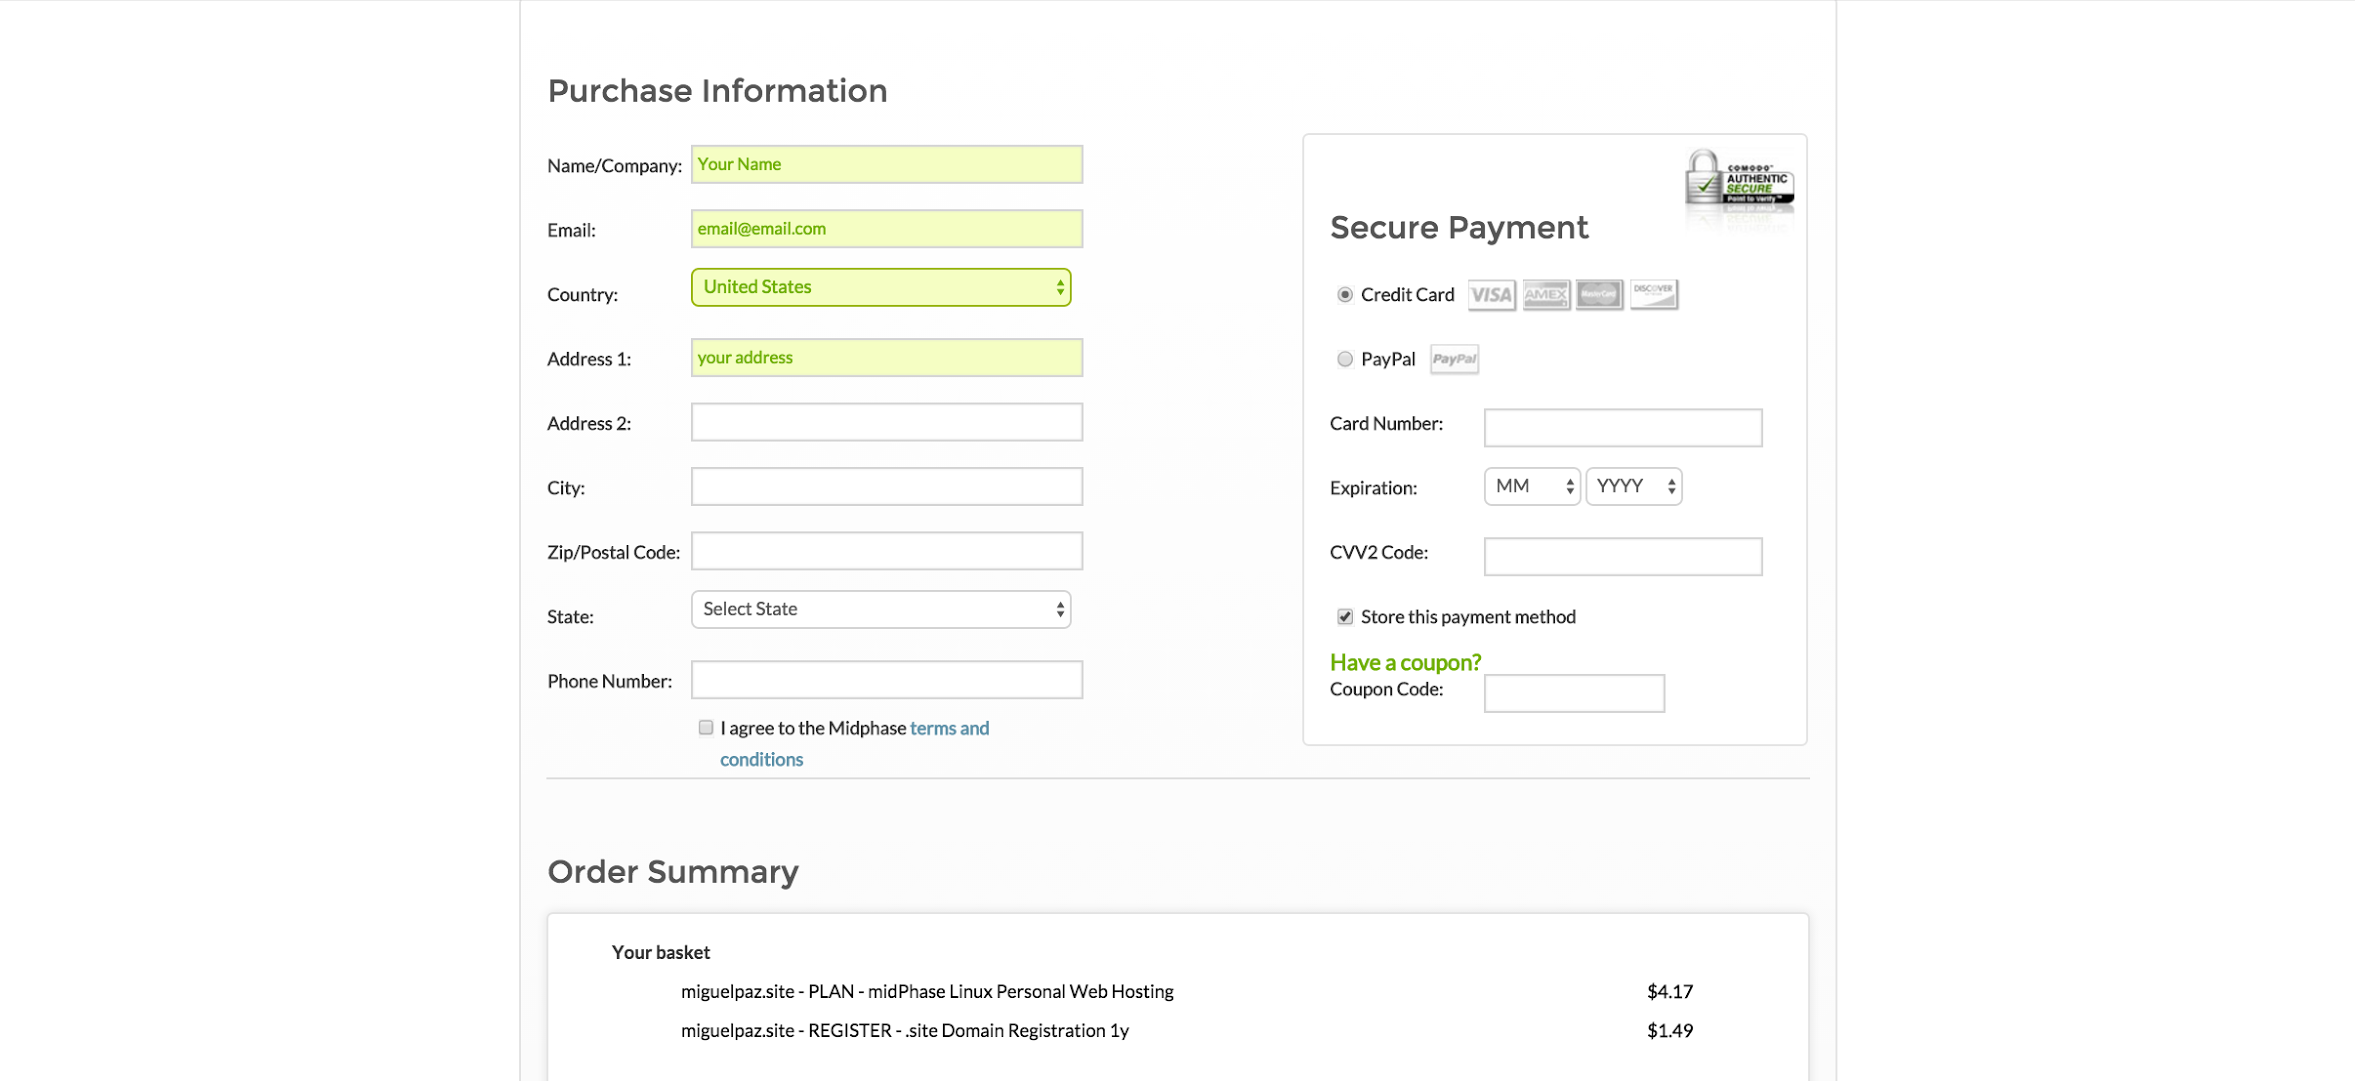
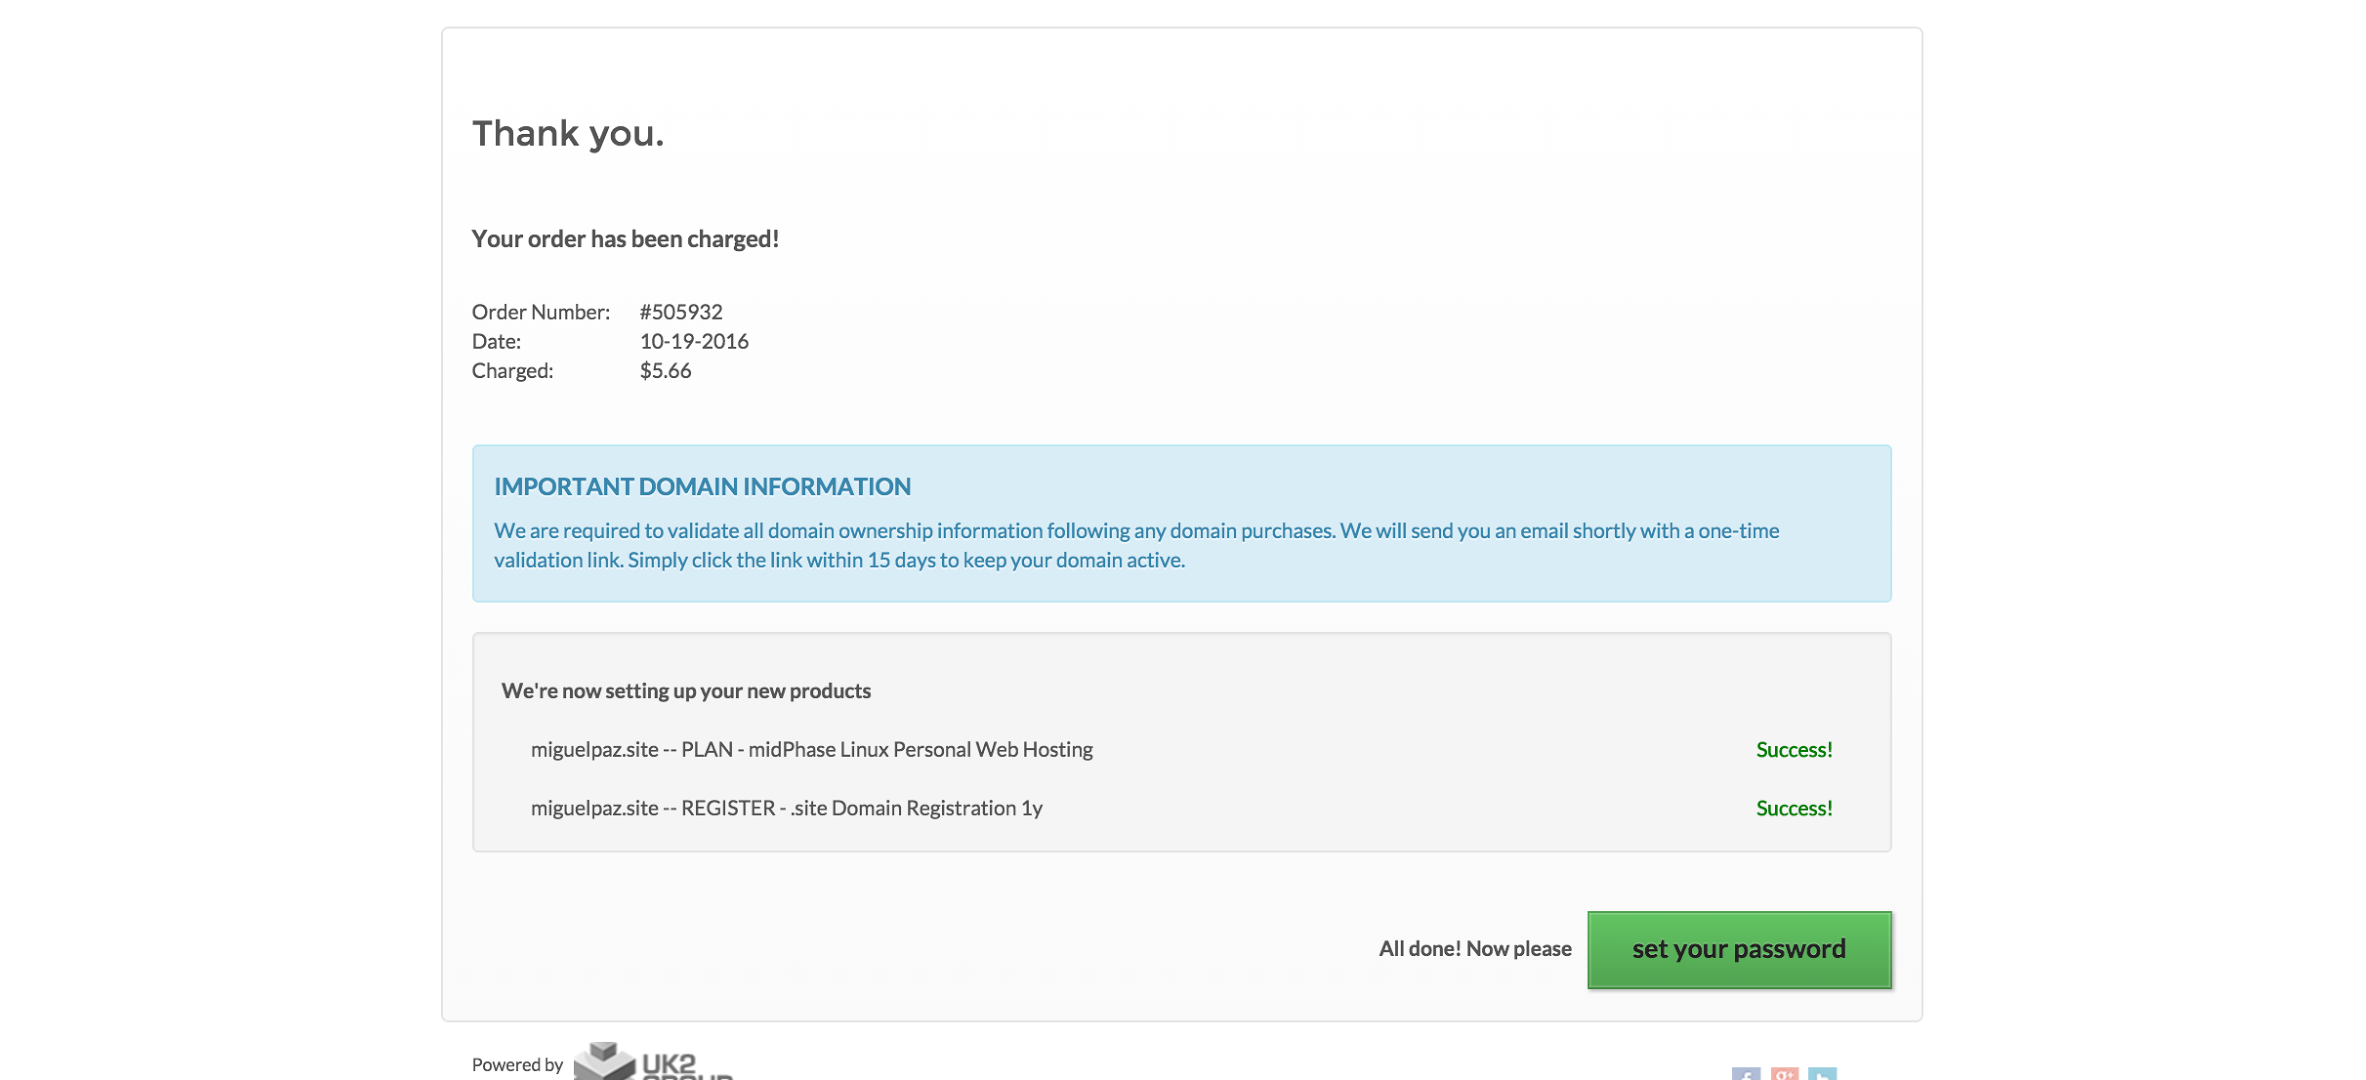
6.- Confirm the order and set your password.
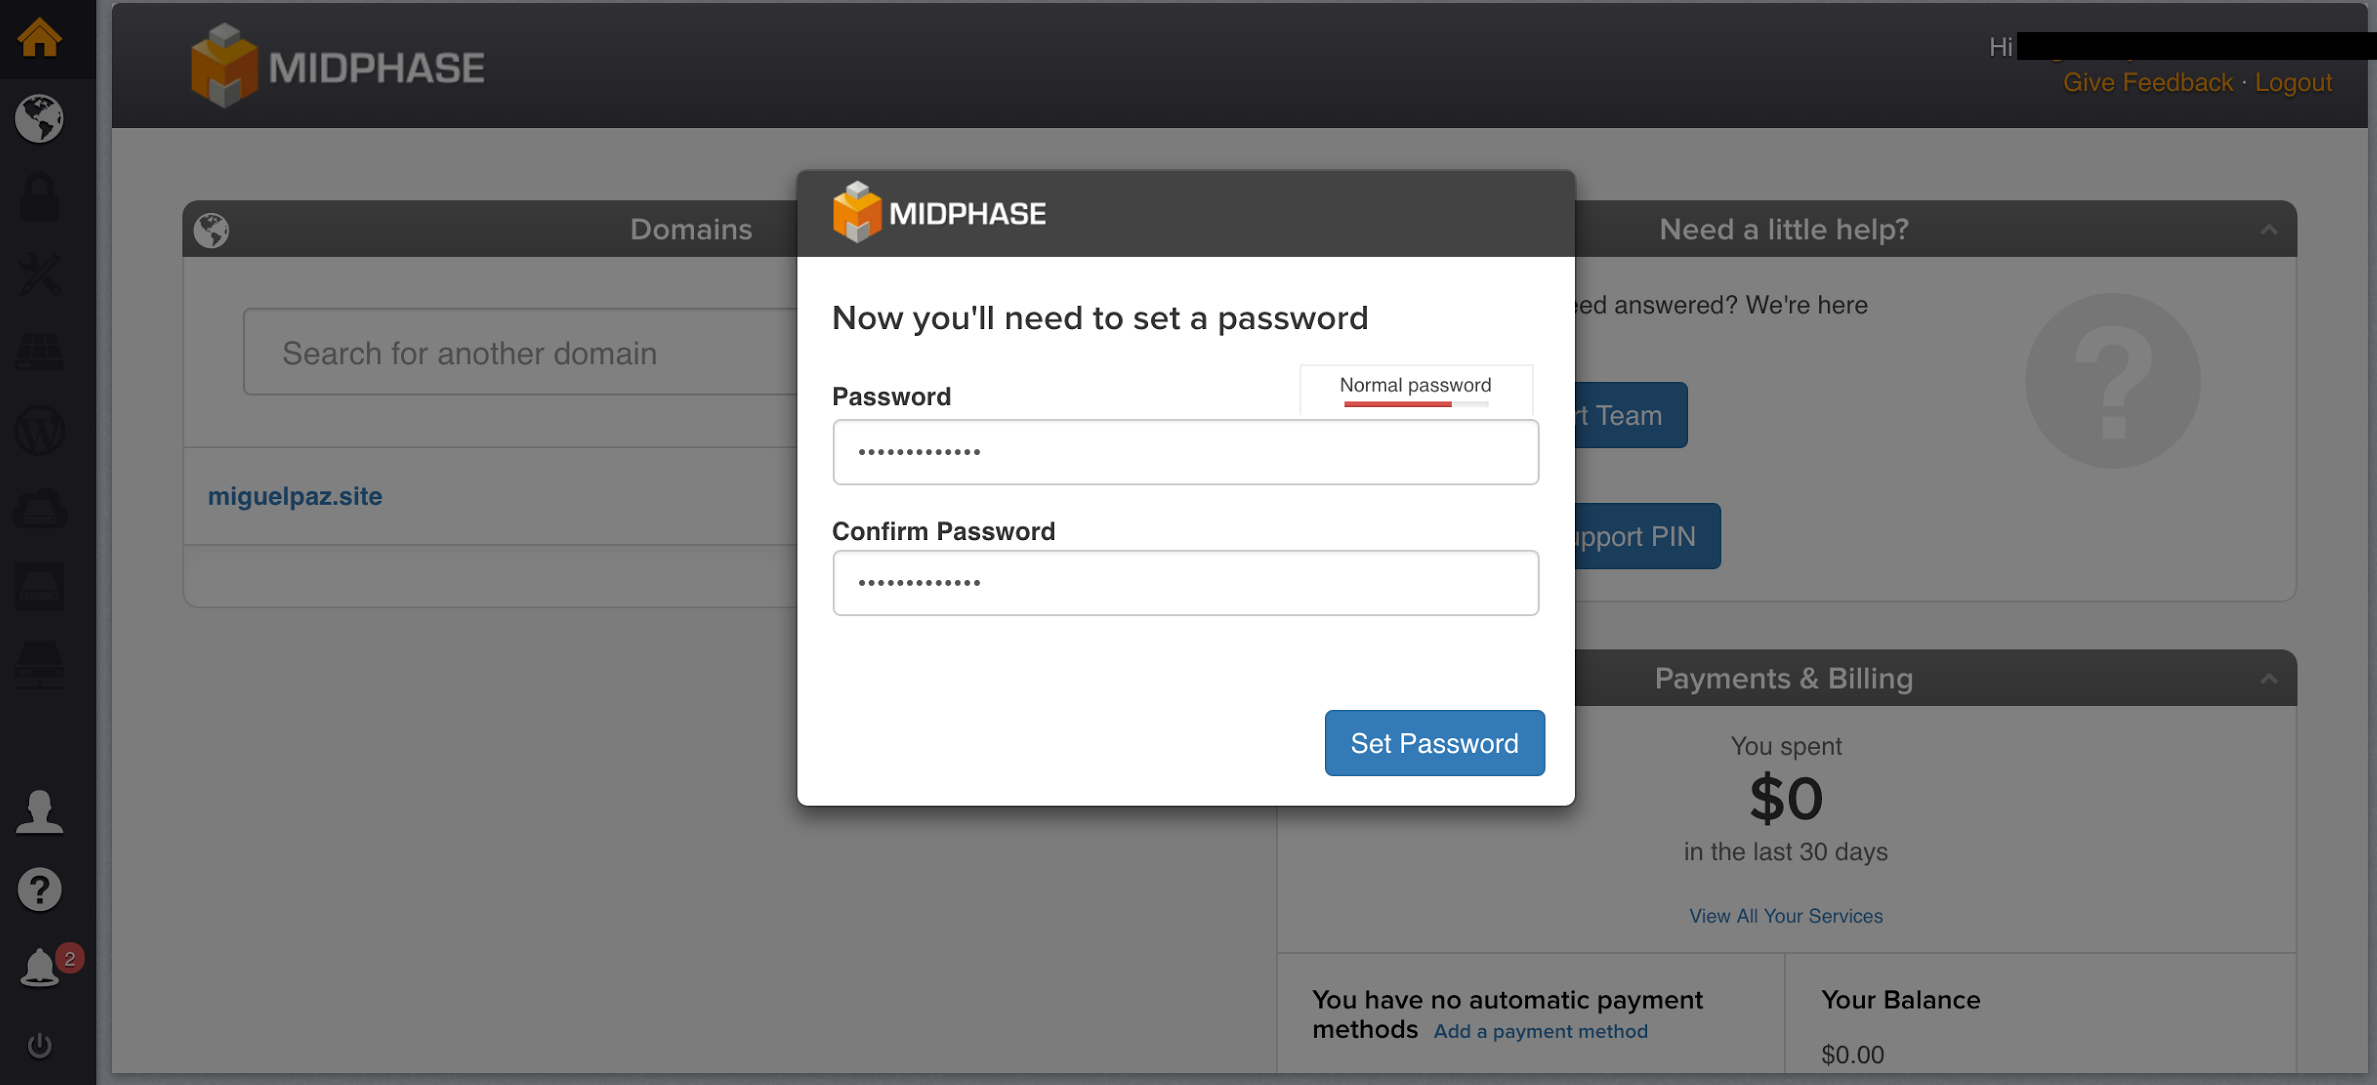
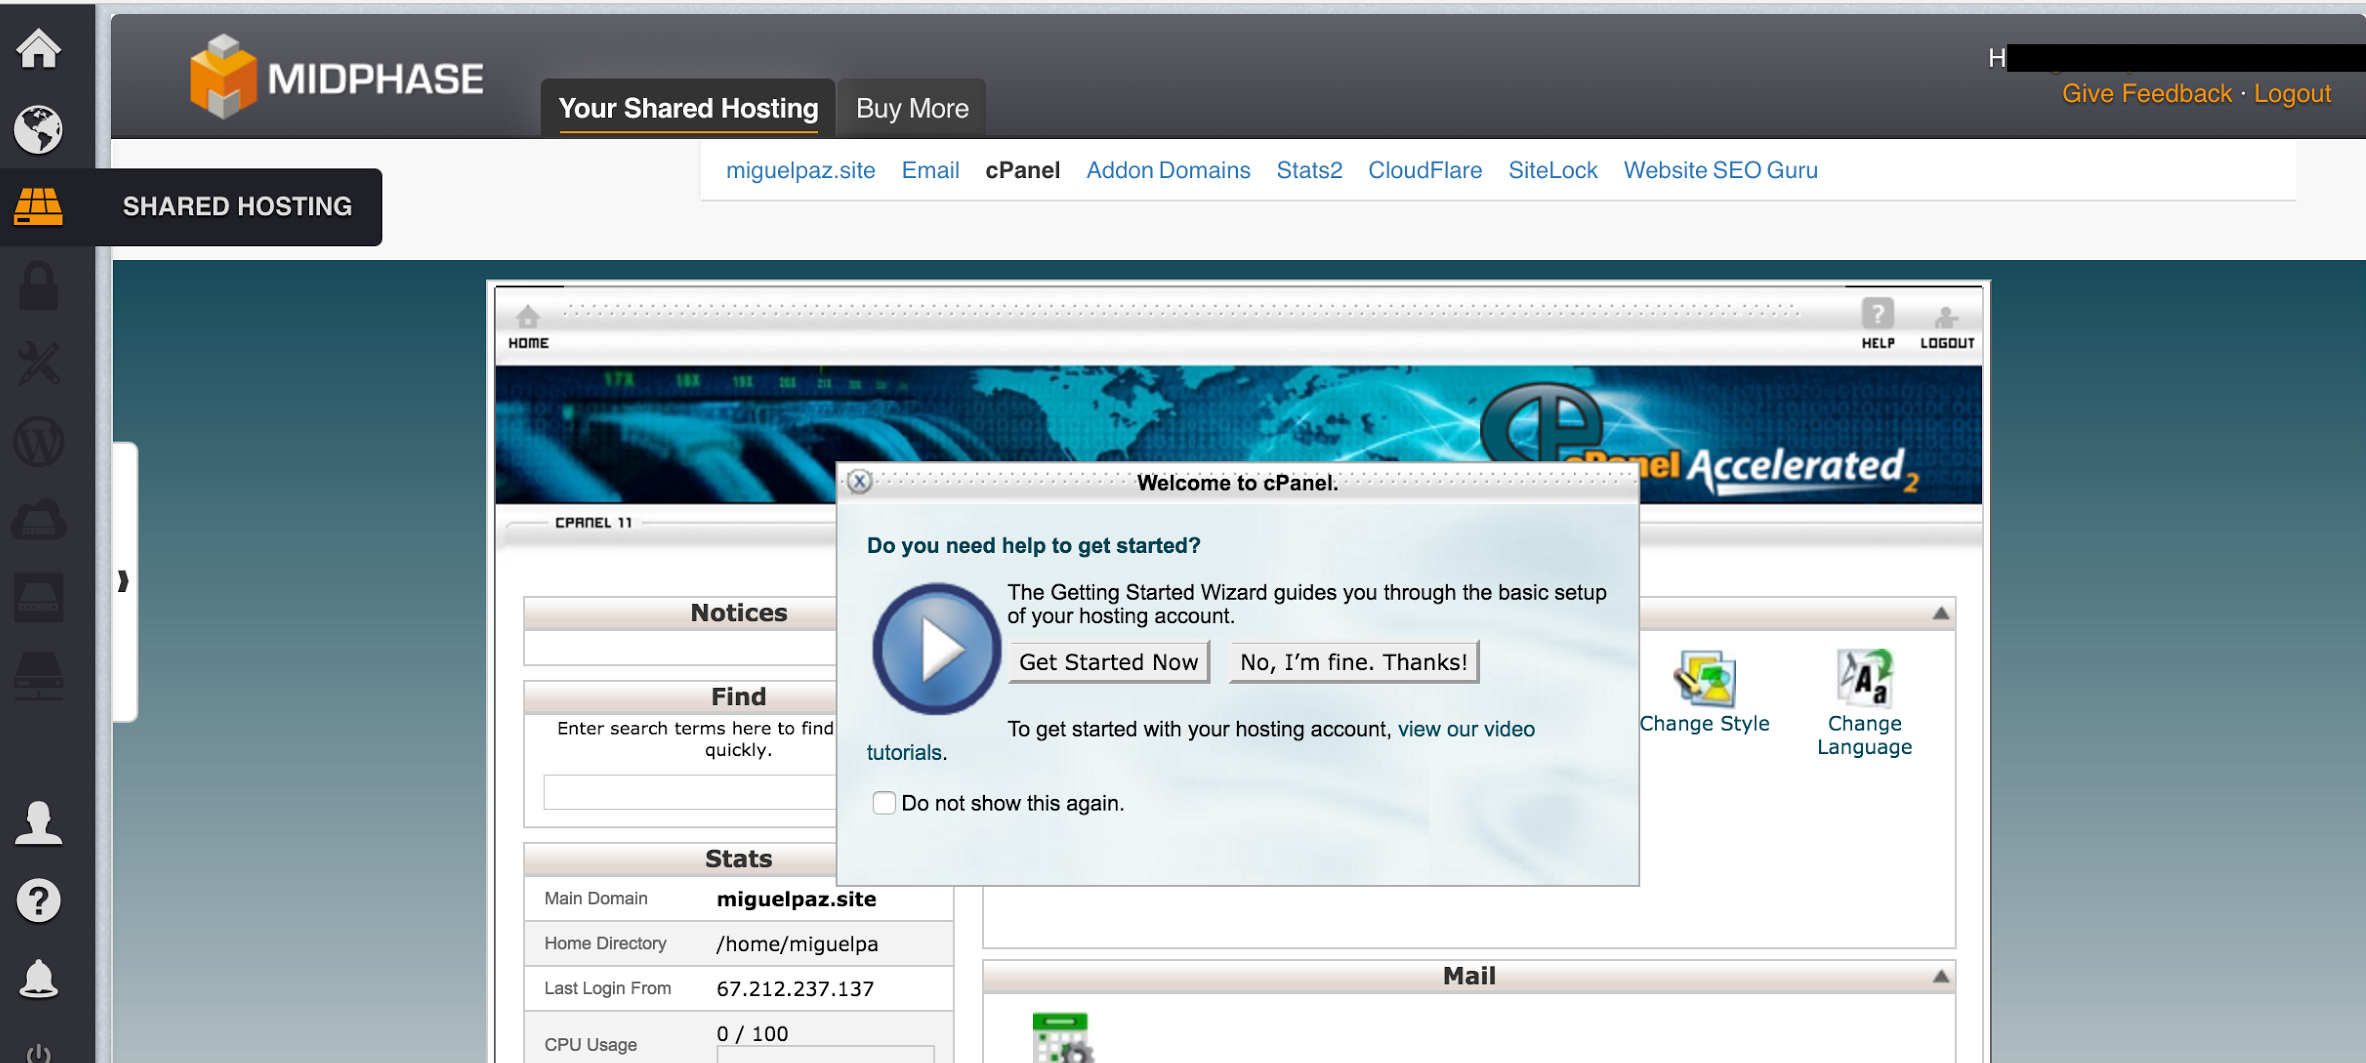
7.- You will see a Dashboard and a Icon Drive for Share Hosting. Click on that to see the basic information of whatever domain you bought.
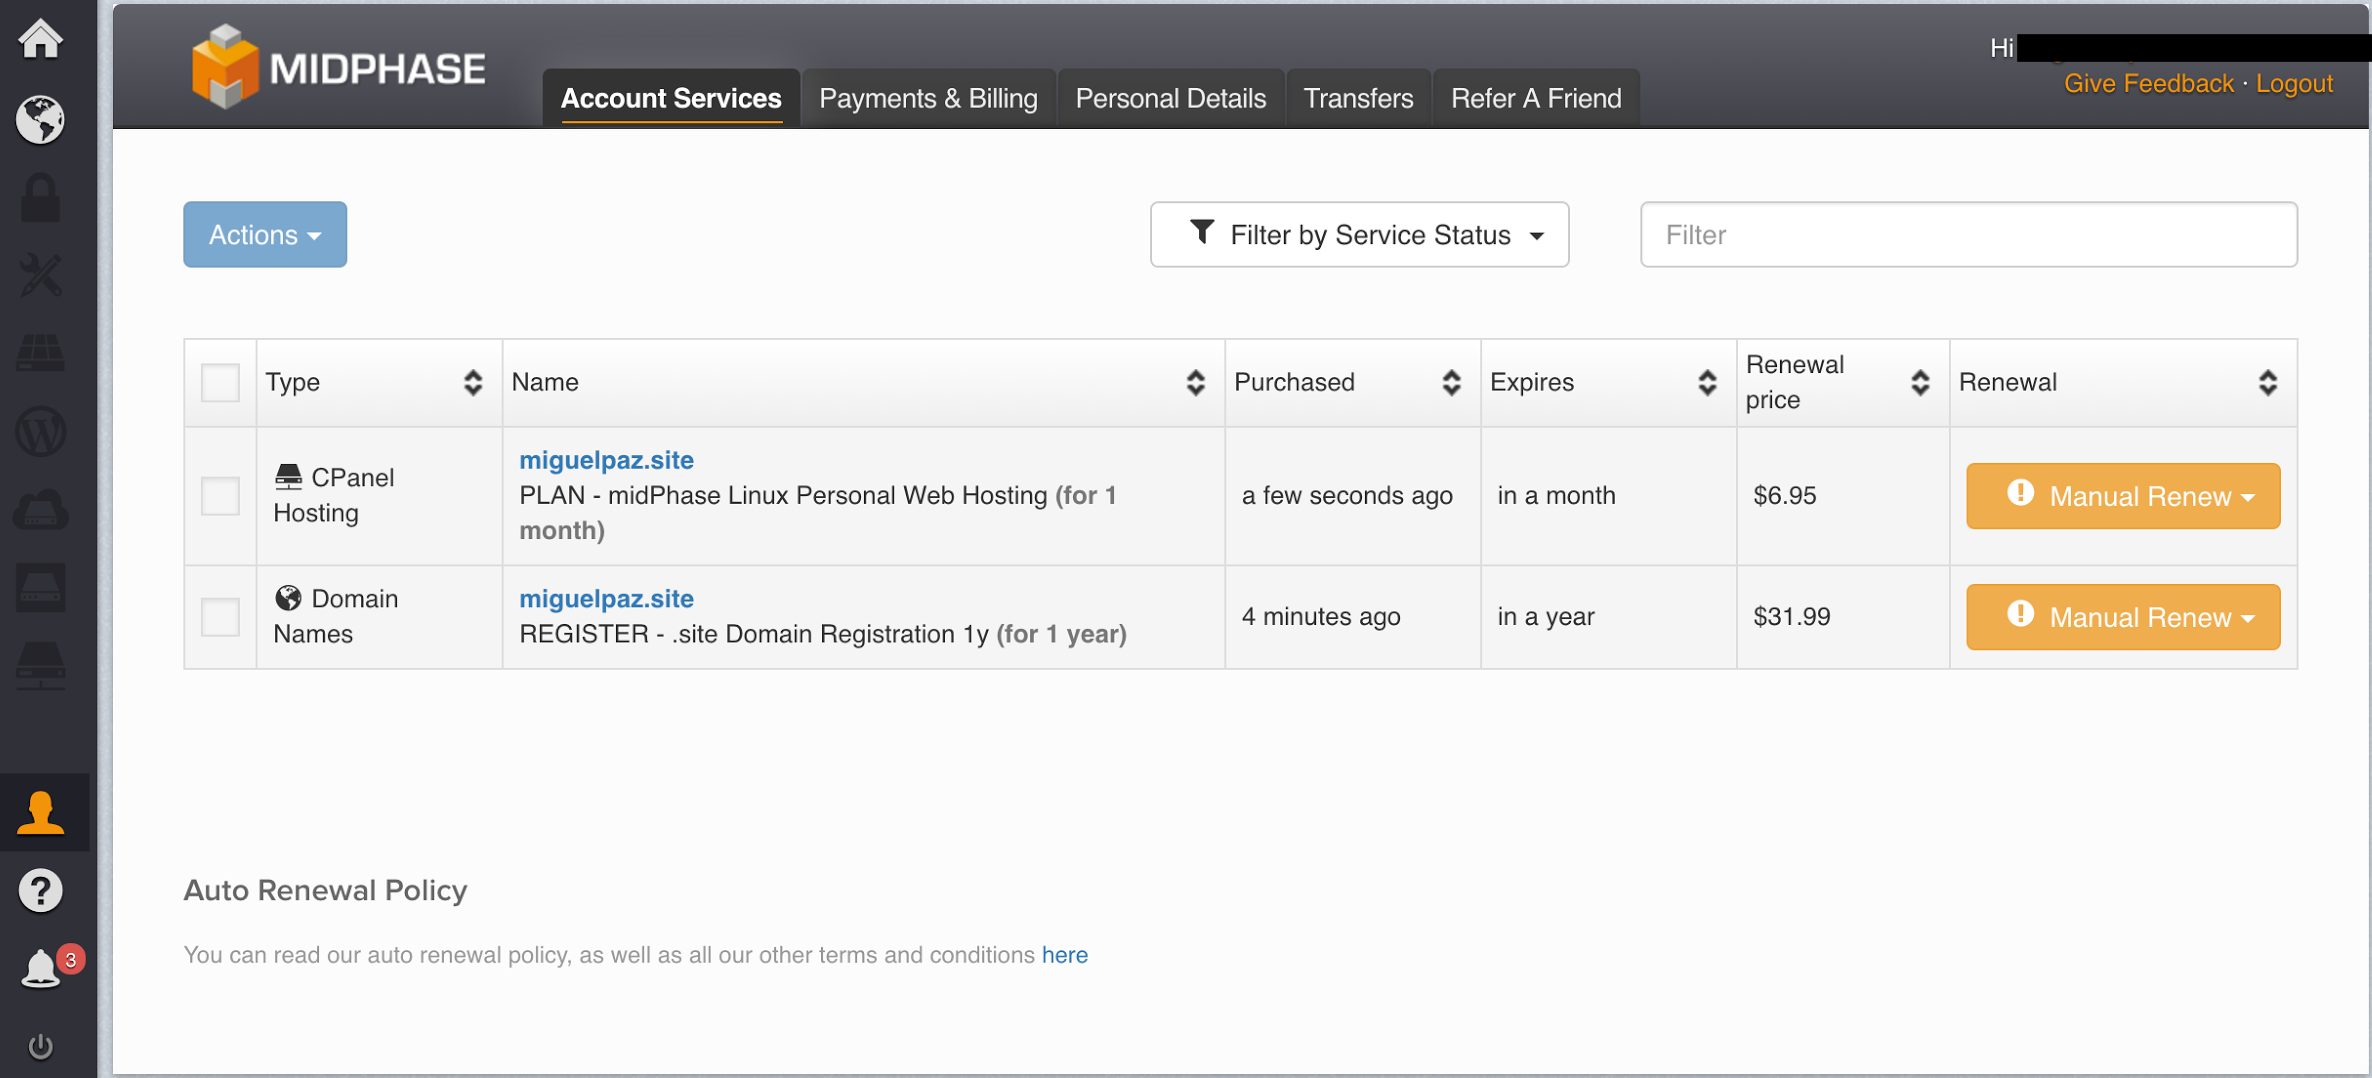
8.- Only if you want to or feel the need to read again about FTP, go to the left icon for Shared Hosting and follow the tutorial that explains very well how to connect via FTP. This is your cPanel (dashboard to manage your website). You will also get an email from Midphase with information for you to remember. Save it.
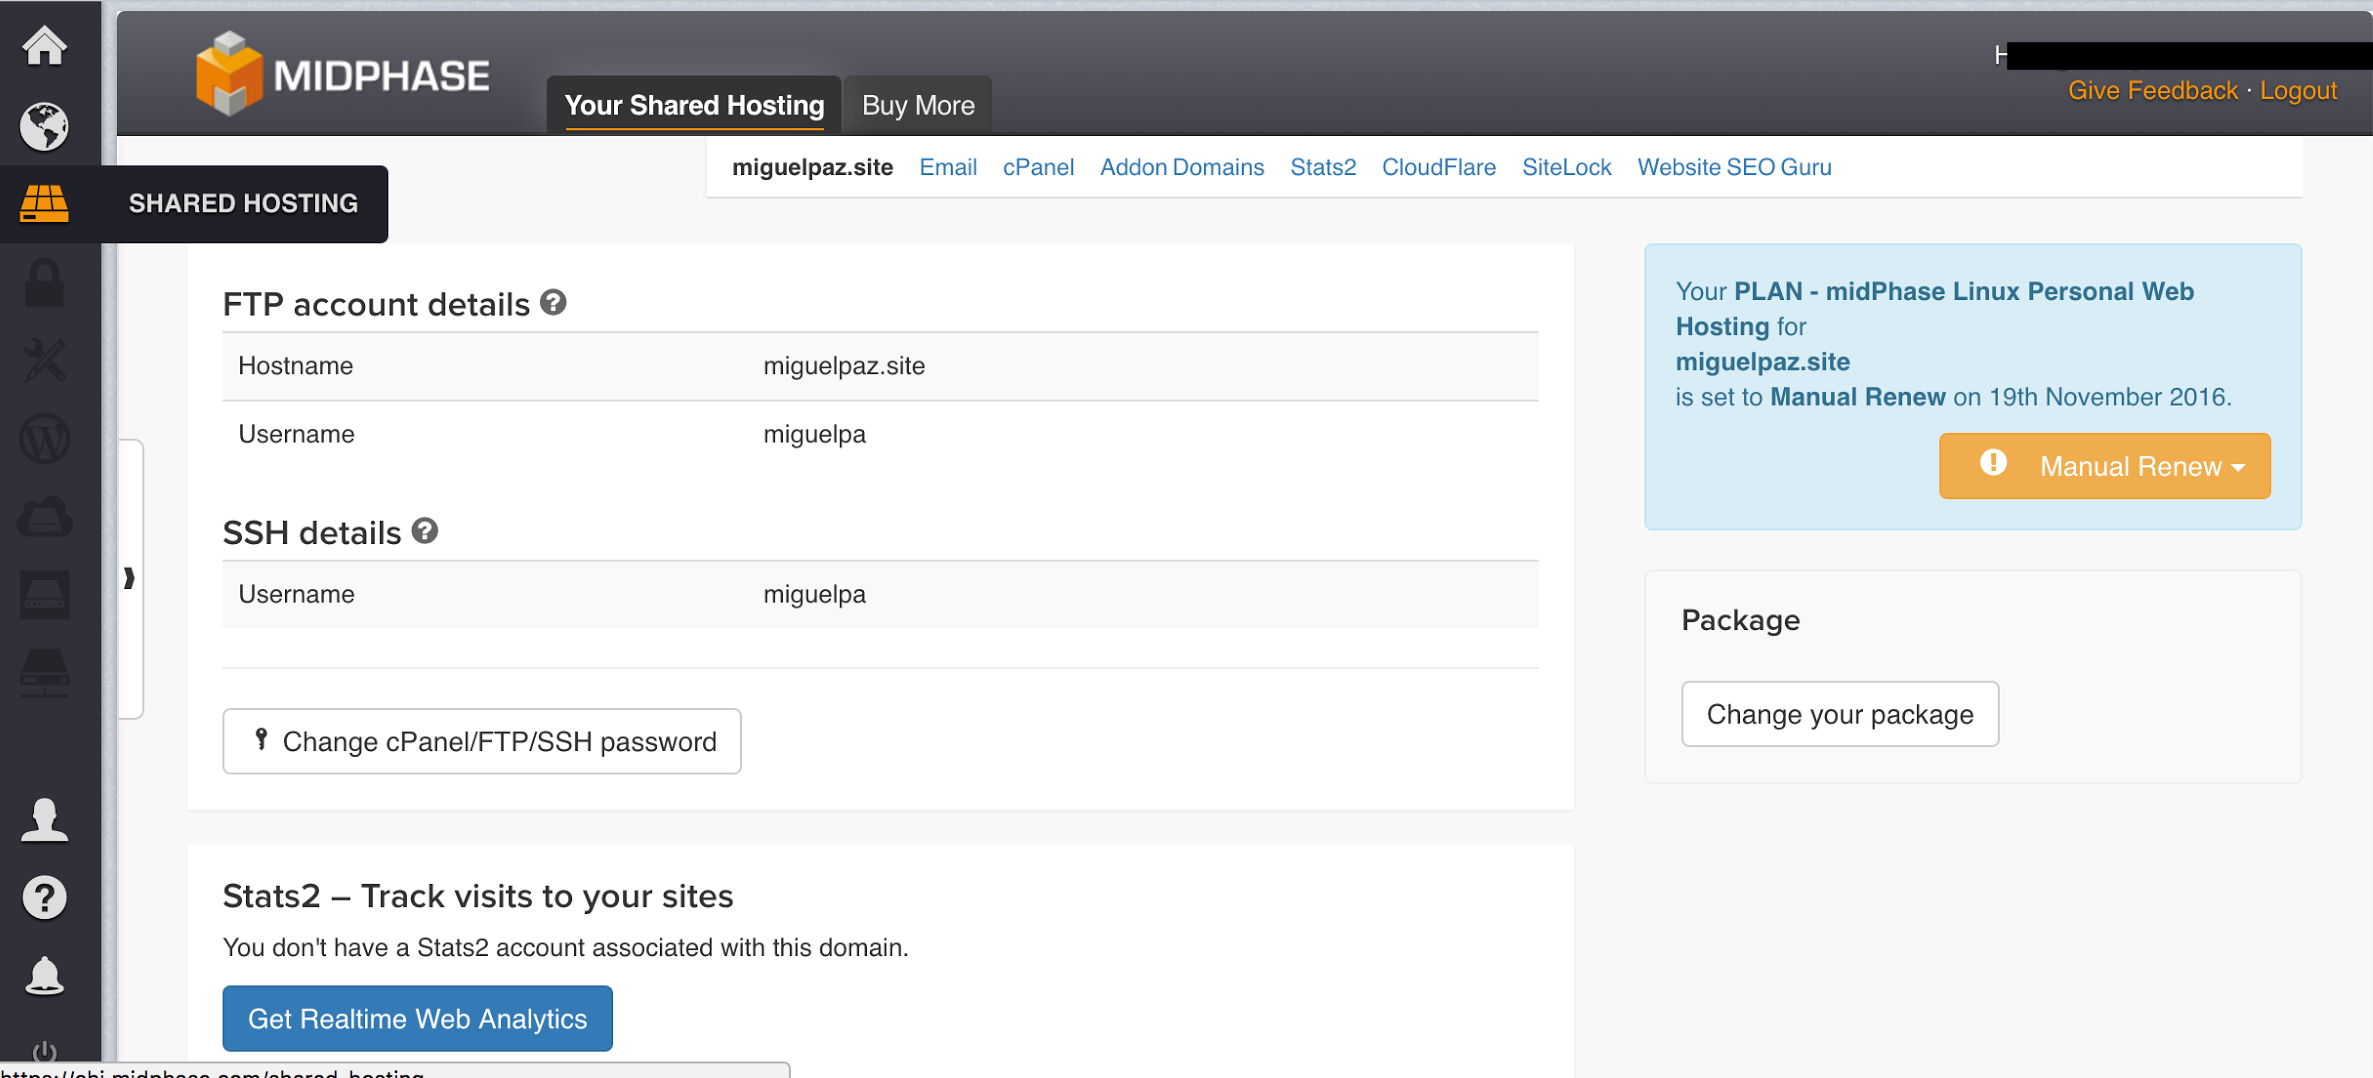
9.- Now, important, to access your domain and hosting and get your FTP credentials you must log into your Control Panel or CPanel at https://chi.midphase.com/home with your username and password. Once you are in, click on the left drive icon of Shared Hosting, look for your domain name and click on it. You will see your credentials to use in your FTP:
Host: miguelpaz.site Username: miguelpa Password: the one you created when you created your account in MidPhase. In here you can create a new specific password for your FTP (recommended).
You are done with that 👍🏼🍾.
10.- Now you will download an FTP client to use it to upload your website to your hosting server.
FTP stands for “File Transfer Protocol” and it is used to connect between your computer 💻 (client) and the server 🖥 of your web hosting.
In order to do that you need to install in your computer an FTP client. This is basically a software that allows you to upload your webpage folder and it’s contents from your computer to your web hosting so it can be displayed in your web page under your domain name. It can also be used to download stuff from your web hosting.
Think of FTP clients as the grandparents of Dropbox or Google Drive, and of FTP as the protocol that helps your machine talk to another machine (since 1971 by the way) to get your stuff into the web.
11.- We’re going to use FileZilla FTP client, since it’s free, open source and offers a straight forward (ugly) but useful interface.
12.- Download FileZilla. If you have issues, try downloading it here. FYI: if you don’t like it there are other programs that will work just as well such as Cyberduck.
13.- Open FileZilla. On the top side you will see 4 boxes: Host, Username, Password, Port where you must write your web hosting credentials and the click on the Quickconnect button, to connect to your web hosting and upload files.

-In the “Host” field, add your domain name.
Ex. Host: miguelpaz.site
-In the “Username” field, enter your cPanel or FTP username.
Ex. Username: miguelpa
-In the “Password” field, enter your MidPhase cPanel password.
-Leave port set blank or at “21”.
-Click “Quick Connect”.
Tip: If your hosting says login failed due to password issues, you should create a new password that is stronger.
Not sure about how FileZilla looks and organizes stuff?
The left side of FileZilla shows the files stored on your Computer. The right side shows the file on your server, where you will see a set of folders and files.
The only important folder for you in the server side now is the one called “public_html”. This folder is where you will upload your files from the left side (stored in your computer) to the rightside (your web hosting server).
All you need to do is find the files you want to upload on the left side of the screen, click once on them and then drag them to the right side of the screen. This will upload the files to your website.
14.- Never erase your “public_html” folder. If you don’t know what other folders or files are for at your server, DO NOT delete, rename or move them.
Still confused? Here is a video tutorial, a list of crazy awkward domain names and some of the longest domains ever
That’s it! Now go celebrate you have your first website online.🎉
Disclaimer: None of the professors or coaches are connected in any way with any of the companies mentioned. We have chosen Midphase as a web hosting provider due to it’s low price, ok service, and because it is easier to pick one provider to explain the entire class how to setup your website. We’ll all have a common dashboard which makes it easier for everyone. You can choose other providers. Feel free to ask me about other options.*